How to Clean the Inside of a Baseball Glove?
Ever noticed how the inside of your baseball glove can get a bit gross after many games?
Sweat and dirt can build up, making it uncomfortable and maybe even smelly. Cleaning the inside isn’t as hard as it might seem.
In this article, we’ll walk you through a simple, effective way to clean the inside of your baseball glove. Keeping it fresh not only makes playing more enjoyable but also helps your glove last longer.
Let’s get your glove feeling and smelling like new again, so you can focus on enjoying the game.
Key Takeaways
- Proper preparation before cleaning, such as removing surface dirt and untying knots, is crucial for access to all areas of the glove.
- Conditioning the leather is essential for maintaining the glove’s softness and preventing cracks; remember to use only a small amount of conditioner.
- Regular cleaning, conditioning, and proper storage are key to maintaining glove flexibility and health, and avoiding damage from severe weather.
- Deodorizing with natural solutions like vinegar or baking soda can effectively remove odors and maintain the glove’s freshness.
- Even neglected gloves can be revived with thorough cleaning and conditioning, provided they are made of quality leather.
Preparing Your Baseball Glove for Cleaning
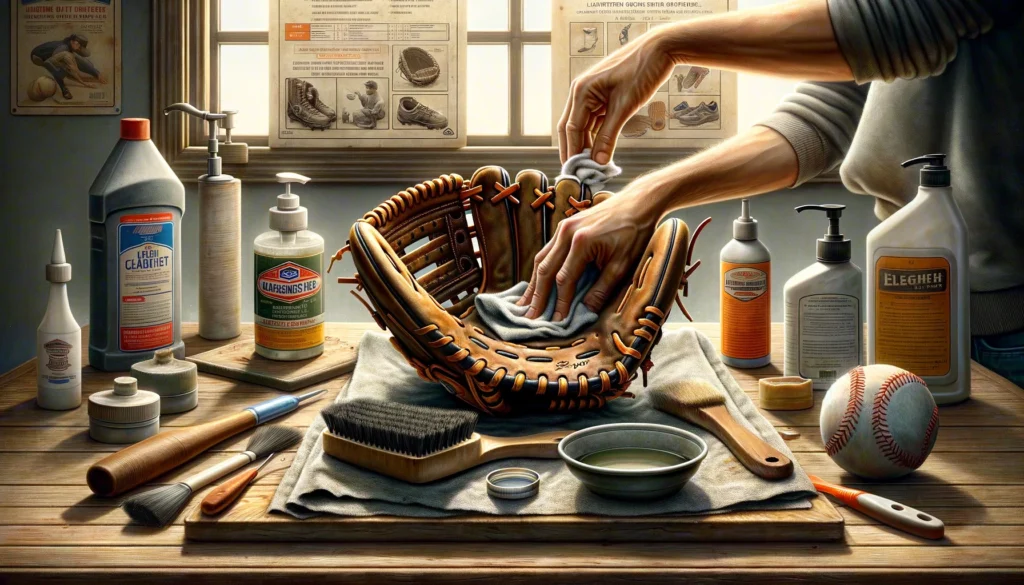
Removing Surface Dirt
Before applying any cleaning solutions, it’s essential to first remove dirt and any surface dirt from your baseball glove. This initial step prevents any grit from scratching the leather during the cleaning process.
Begin by gently brushing off loose dirt with a soft-bristled brush or a clean, dry cloth. If necessary, a combination of mild dish soap and water can be used on a damp rag for a more thorough wipe down, but be cautious not to saturate the leather.
- Gently brush off loose dirt with a soft-bristled brush or cloth.
- For a deeper clean, use a mild soap and water solution sparingly.
- Allow the glove to dry completely, ideally for 24 hours, before proceeding with conditioning.
Ensuring your glove is dry and free from excess dirt sets the stage for an effective conditioning treatment.
Remember to use a microfiber cloth for its suitability in applying oil-based products and its reusability after machine washing.
Untying Knots for Better Access
Before you can thoroughly clean your baseball glove, it’s essential to untie any knots. This step ensures that you can reach every part of the to clean a baseball glove, especially the tight and often neglected areas.
Start by carefully loosening the laces in areas like the fingers and the webbing, which will allow you to clean new laces more effectively.
- Gently pull apart any tight loops or knots using your fingers or a blunt tool like a wooden mallet.
- If you encounter stubborn knots, apply a small amount of glove conditioner to lubricate the laces, making them easier to work with.
Remember, the goal is to open up the glove for a comprehensive cleaning without damaging the leather or laces.
Once you’ve untied the knots, you can proceed to wipe down the glove with a mild soap solution, reaching into all the nooks and crannies that were previously inaccessible.
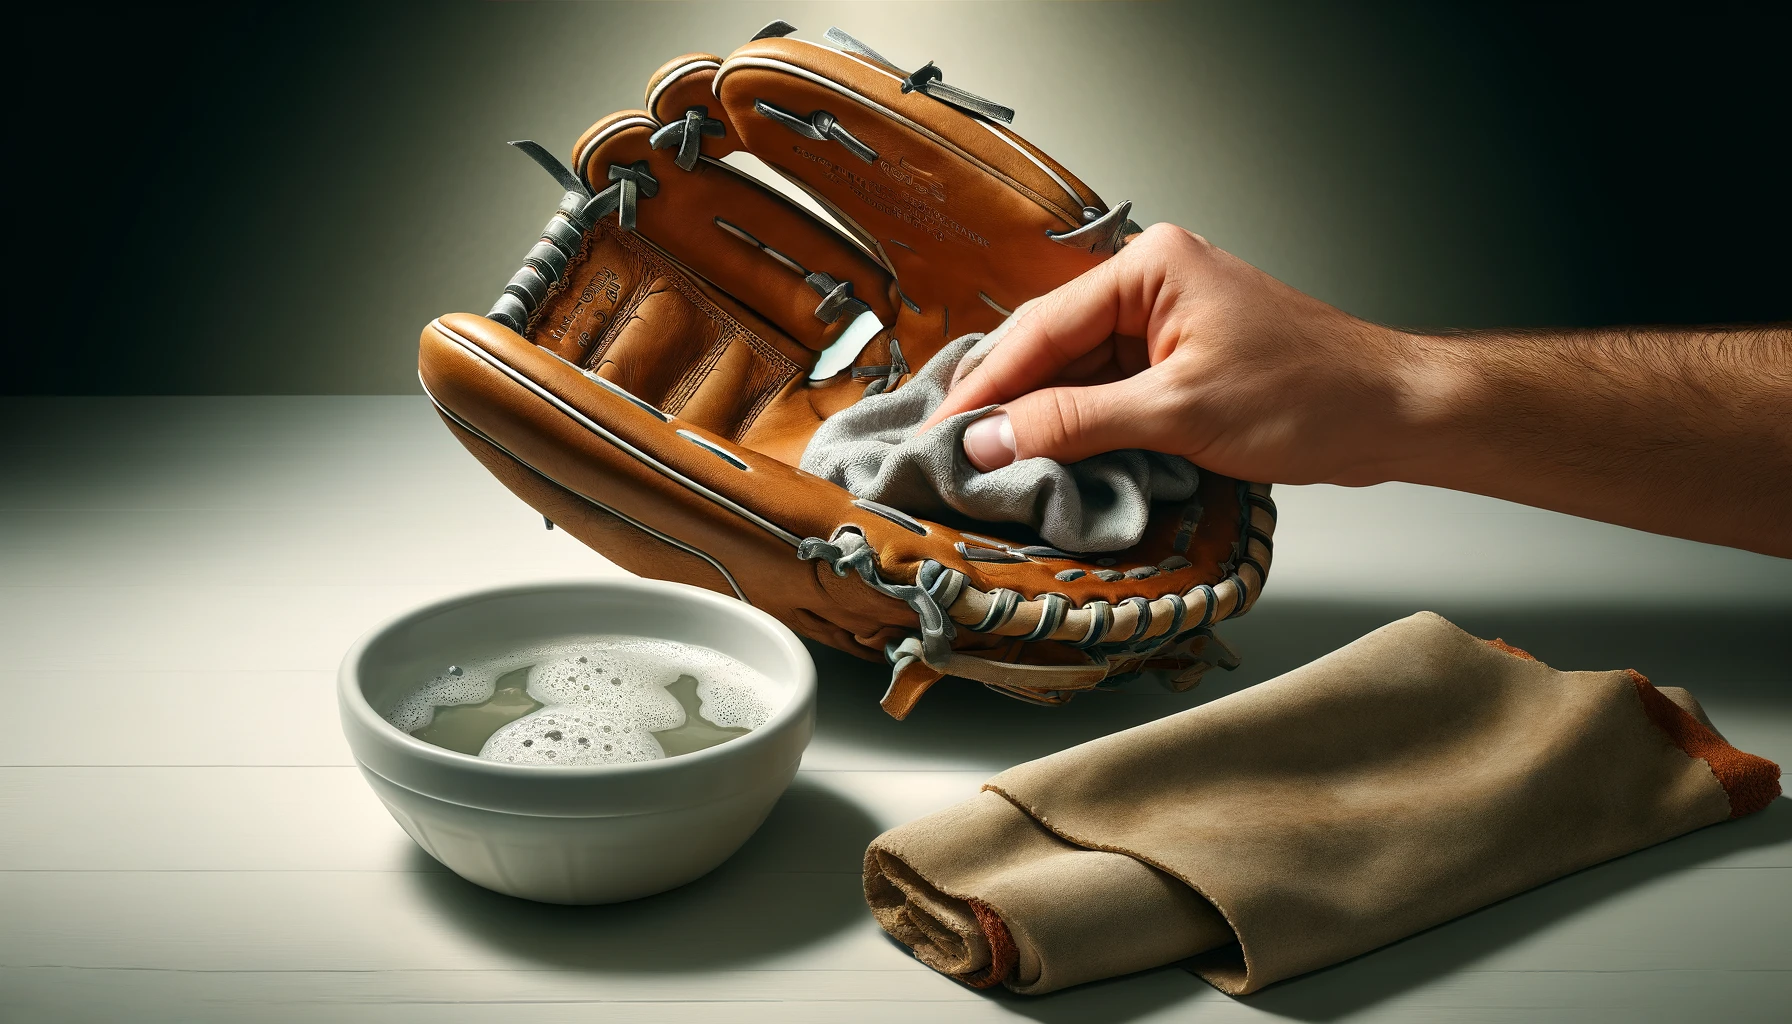
Wiping Down with Mild Soap Solution
After removing surface dirt and ensuring better access by untying knots, it’s time to gently clean your glove with a mild soap solution.
Use a soft cloth or sponge to apply the solution, taking care not to oversaturate the leather.
Here’s how to do it effectively:
- Dampen a soft cloth or sponge with the soap solution.
- Gently wipe the entire surface of the glove, focusing on areas that come into contact with your hand the most.
- Avoid using too much water, as this can damage the leather.
Once you’ve thoroughly wiped down the glove, allow it to air dry naturally, for at least 24 hours before proceeding to the conditioning stage.
This ensures that the leather is completely dry and ready to absorb the conditioner for optimal protection and longevity.
Read Also: What Oil to Use to Break in a Baseball Glove
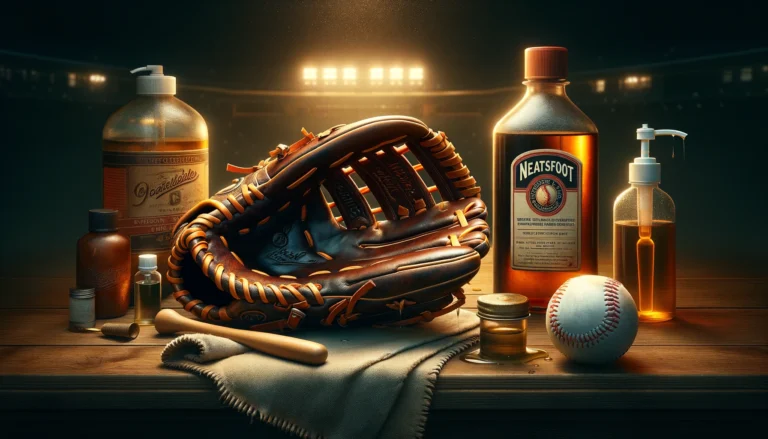
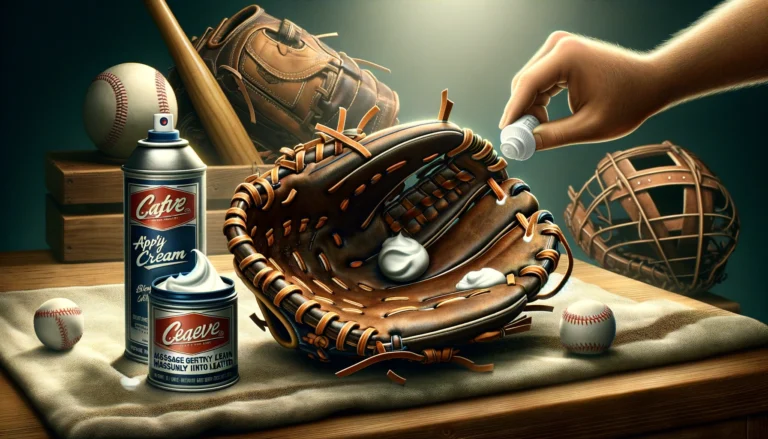
Conditioning the Leather
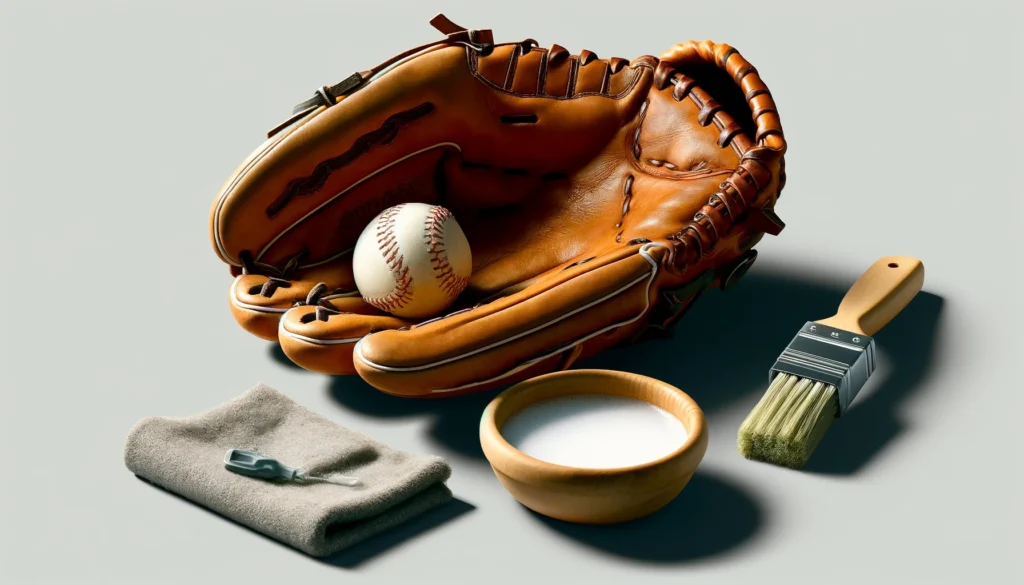
Applying Glove Conditioner
Once your baseball glove’s surface is free from dirt and debris, it’s time to apply the conditioner. Use only a small amount of conditioner to avoid over-saturating the leather, which can lead to a heavy, oily glove.
Here’s how to do it effectively:
- Start by applying a pea-sized amount of conditioner to a clean, dry cloth.
- Gently work the conditioner into the glove’s leather, focusing on dry or cracking areas such as the web, palm, and laces.
- Aim for a uniform application, ensuring the entire glove is evenly treated without any excess.
After thoroughly working the conditioner into the glove, let it rest in a warm, dry place. The ideal temperature range is between 70 – 90 degrees Fahrenheit.
Allow the leather to absorb the conditioner for a full 24 hours before using the glove again.
Remember, a little goes a long way—reapply conditioner only as needed to maintain the glove’s flexibility and water resistance.
Working Conditioner in All Areas
Once you’ve applied a small amount of conditioner to your glove, it’s time to ensure it’s worked into every nook and cranny.
Use a clean, dry cloth to wipe, smear, and buff the conditioner into the leather. Aim for a uniform application, spending about 3-5 minutes on each area of the two leather glove itself.
The goal is to achieve a consistent color and feel across the entire glove without over-conditioning. Remember, a little goes a long way, and you can always add more if necessary.
Follow these steps for the best results:
- Start with a clean glove, removing any surface dirt with a brush or rag.
- Apply the conditioner sparingly and evenly across all areas of the glove, including the web, palm, laces, and inside.
- After application, let the glove rest in a warm, dry area (70 – 90 F) to allow the leather to fully absorb the conditioner over 24 hours.
Conditioner not only softens the leather but also improves its water resistance and overall health. Re-treat your glove as needed to maintain its quality and extend its lifespan.
Drying and Absorption Process
Once you’ve applied the conditioner to your baseball glove, it’s crucial to let it dry properly to ensure the leather fully absorbs the conditioner.
Follow these steps for an effective drying process:
- Place the glove in a warm, dry area with a temperature range of 70 – 90 F.
- Allow the leather to absorb the conditioner for at least 24 hours.
Avoid the temptation to speed up the drying by using direct heat sources, as this can damage the leather.
Instead, patience is key as the conditioner works its magic, moisturizing the leather fibers and preventing them from drying out.
After the drying period, your glove should feel softer and more pliable, ready for your next game.
Read Also: How to Break in a Baseball Glove with Shaving Cream
Maintaining Glove Flexibility and Health
Regular Cleaning and Conditioning
Regular cleaning and conditioning are essential to maintaining your baseball glove’s flexibility and overall health.
Begin by removing any grime or surface dirt with a brush or rag. For a deeper clean, a mild dish soap and water solution can be used, but ensure the glove is completely dry before proceeding to the next steps.
- First, apply a small amount of conditioner to the glove using your hands or a clean cloth.
- Work the conditioner into all parts of the glove, including the web, palm, laces, and interior.
- Focus on areas that are dry or starting to show signs of cracking.
After conditioning, place the glove in a warm, dry area with a temperature between 70 – 90 F to allow the leather to properly absorb the conditioner. This process should take about 24 hours.
Remember, a little conditioner goes a long way—over-conditioning can lead to a heavy, oily glove. Re-treat your glove as needed to keep the leather soft and water-resistant.
Proper Storage Practices
After ensuring your glove is clean and conditioned, proper storage is the next step in maintaining its flexibility and health. Storing your glove correctly is crucial to preserving its shape and preventing damage.
Here are some tips for optimal storage:
- Always store your glove in a cool, dry place, away from direct sunlight or damp areas to prevent the leather from becoming brittle or moldy.
- Consider using a glove bag or wrapping the glove in a soft cloth for extra protection against dust and potential deformities.
- During the off-season, apply a light coat of conditioner to keep the leather supple and prevent it from drying out.
By following these simple storage practices, you can ensure that your glove remains in top condition, ready for the next season or game day.
Avoiding Severe Weather Exposure
After ensuring your glove is protected from harsh weather conditions, the next step is to focus on proper storage.
Store your glove in a cool, dry place when it’s not in use to prevent the leather from becoming brittle or moldy.
Here are some tips for optimal storage:
- After cleaning, pat the glove gently with a clean, dry cloth to remove excess moisture.
- Find a well-ventilated area with good airflow to place the glove, avoiding locations with high humidity or extreme temperatures.
- Consider using a glove wrap or a ball in the pocket to maintain the glove’s shape during storage.
By following these simple steps, you can keep your glove in ‘opening day ready’ condition, ensuring it remains a reliable part of your baseball gear for this baseball season and the seasons to come.
Read Also: How to Break in a Baseball Glove with Hot Water
Deodorizing the Inside of the Glove
Using a Vinegar Solution
To effectively deodorize the inside of your dirty baseball glove again, a vinegar solution can be a simple and natural option.
Mix equal parts of distilled white vinegar and water in a bowl. Submerge a lint-free microfiber cloth into the mixture, ensuring to wring it out well so it’s not dripping.
Proceed by turning the glove inside out and gently wiping the interior with the vinegar-soaked cloth. This method not only helps in eliminating odors and visible dirt but can also aid in killing bacteria.
After wiping, do not rinse the glove; instead, let it air-dry while still inside out to prevent any moisture buildup.
Remember, regular maintenance using this vinegar solution can keep your glove fresh and extend its lifespan.
Applying a Baking Soda Soak
To effectively deodorize the inside of your baseball glove, a baking soda soak can be a simple yet powerful method.
Begin by filling a sink or plastic container with cool water and add one cup of baking soda. Ensure that the solution is well mixed before submerging the glove.
- Submerge the glove fully, making sure it’s right side out, and allow it to soak for at least 30 minutes to neutralize odors.
- After soaking, rinse the glove thoroughly with cool water until all traces of baking soda are gone.
- Gently squeeze out excess water without twisting the leather, which can damage the glove’s shape and integrity.
Once the glove is rinsed, it’s crucial to let it air-dry completely inside out. This step prevents moisture from being trapped inside, which could lead to mildew or further odor issues. If the glove is white, this process may also help restore its brightness.
Air-Drying Techniques
After cleaning and deodorizing your baseball glove, it’s essential to let it air-dry properly to prevent any damage or mold growth.
Never place your glove in a dryer or use artificial heat sources, as this can warp the leather and weaken the stitching.
Instead, follow these steps:
- Gently pat down the glove with a microfiber towel to remove excess moisture.
- Position the glove in a well-ventilated area, away from direct sunlight and extreme temperatures.
- If possible, hang the glove using clothespins on the fingertips or a skirt hanger to ensure even air circulation.
Remember, patience is key during the drying process. Allow the glove to dry completely before using it again.
Proper storage after drying is also crucial; store your glove in a cool, dry place to maintain its condition and longevity.
Read Also: How to Break in a Baseball Glove in the Oven
Reviving an Old Baseball Glove
Assessing the Leather Quality
Before diving into the revival process of an old baseball glove, it’s crucial to assess the leather quality. This initial step will determine the appropriate cleaning and conditioning methods to use.
Here’s how to evaluate the leather of your baseball glove:
- Check for any signs of dryness or cracking, which indicate a need for deep conditioning.
- Feel the leather’s texture; premium leather gloves often have a softer, more pliable feel, making them easier to close.
- Inspect the color and appearance; uneven or faded color may suggest the leather has been exposed to harsh conditions.
Remember, the quality of the leather will influence the glove’s performance and longevity. If the leather is too worn or damaged, it may be beyond repair and require replacement.
Deep Cleaning and Conditioning
Once your baseball glove has been thoroughly cleaned, it’s time to focus on deep cleaning and conditioning.
This process is crucial for restoring the leather’s natural oils and ensuring the glove remains supple and durable.
- Start with a clean glove, removing any surface dirt with a brush or rag. For a deeper clean, a mild dish soap and water solution can be used, but be cautious not to use too much water.
- Apply a small amount of conditioner to the glove using a clean, dry cloth. Work the conditioner into every part of the glove, including the web, palm, laces, and inside. Aim for uniformity and avoid over-conditioning.
- After application, let the glove rest in a warm, dry area for 24 hours to allow the leather to fully absorb the conditioner.
Remember, a little conditioner goes a long way. It’s better to apply small amounts and add more if needed than to overdo it and end up with a heavy, oily glove.
Restoring Flexibility and Appearance
Once you’ve deep cleaned and conditioned your former baseball player’ glove, the final step is to restore its flexibility and appearance. This is crucial for ensuring the glove is game-ready and can perform at its best.
Start by working the glove with your hands, bending and flexing the fingers and palm to soften the leather.
To further enhance the glove’s flexibility, consider using a rubber mallet. Place a ball in the pocket and gently tap around the area to mimic catching, which helps to restore the depth and shape of the pocket.
Finally, give the glove time to rest and absorb the conditioner. This will help to maintain the leather’s softness and prevent it from becoming brittle.
With patience and proper care, your glove’s fingers will look and feel revitalized, ready for many more innings on the field.
Read Also: How to Break in a Synthetic Baseball Glove
Conclusion
Maintaining the inside of a baseball glove is essential for both performance and longevity. By following the steps outlined in this article, from cleaning to conditioning, you can ensure your glove remains in top condition.
Remember to start with a clean glove, apply conditioner sparingly, and allow it to absorb properly. Additionally, using household items like vinegar or baking soda can help eliminate odors and keep the glove fresh.
With regular glove care though, even the most worn gloves can be brought back to life, ready for the next game.
Keep your glove out of extreme weather, store it properly during the off-season, and give it the attention it deserves to stay ‘opening day ready’ for many seasons to come.
Frequently Asked Questions
How do I prepare my baseball gloves for cleaning?
Start by removing any surface dirt with a brush or rag. If necessary, wipe down the glove with a mild dish soap and water solution, but don’t use too much water. Untie any knots to ensure you have access to as much leather as possible. Allow the glove to dry completely before applying the conditioner, especially if you used water during the cleaning process.
What’s the best way to condition a baseball glove?
First, ensure the glove is clean and dry. Apply small dots of glove conditioner to the glove using a clean cloth, working it into all areas including the web, palm, and laces. Avoid the fabric tag. Allow the glove to rest in a warm, dry area for 24 hours to let the leather absorb the conditioner fully.
How often should I clean and condition my baseball gloves?
Regular cleaning and conditioning are vital to maintain your glove’s flexibility and health. Clean it as often as it gets dirty and condition the leather with a high-quality product from time to time, depending on the frequency of use and exposure to dirt and moisture.
What are some effective deodorizing solutions for the inside of a baseball glove?
To deodorize the inside of your glove, you can use a mixture of one-half cup distilled white vinegar and one-half cup water. Apply it with a microfiber cloth, let it air-dry, and if the odor persists, consider a baking soda soak for at least 30 minutes followed by a thorough rinse and air-drying.
How can I revive an old, neglected baseball glove?
Assess the quality of the leather first. If it’s still in good condition, proceed with deep cleaning and conditioning. Work in the conditioner thoroughly and let it absorb properly. With the right care, even an old glove can be brought back to a flexible and healthy state.
What are the best storage practices to maintain my baseball glove’s condition?
Keep your glove out of severe weather and store it in a cool, dry place during the off-season. Avoid leaving it in hot or damp areas to prevent the leather from drying out or becoming moldy. Proper storage will help maintain your glove’s condition and extend its lifespan.